Barco Puck- Click Share Software Installation Instructions
- Each Room is equipped with a USB-C wireless sharing connection.

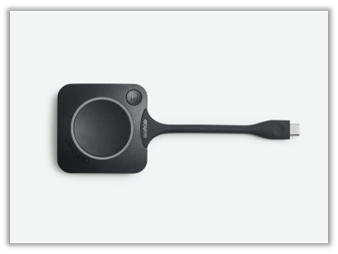
2. This can be plugged into a laptop or any device that uses USB-C.
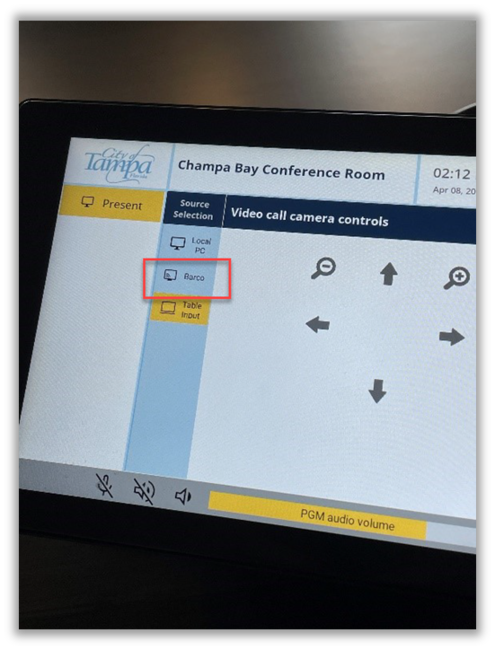
If you are in a room with a Logitech tablet, you select ‘Barco’ on the table’s tablet.
If you are in a room WITHOUT a Logitech tablet, you will move onto the next step.
3. If you have never used the Barco puck, you will have to install the Barco software on the PC. This software can be found in Windows Explorer. You will only need to install this software once.

4. Select ‘CD Drive (D:) ClickShare’.
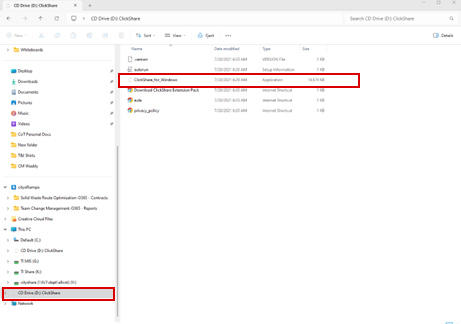
5. Then select ‘ClickShare_for_Windows.exe’.
6. You will then click ‘Install’.
7. Once done, click ‘This PC’ then select ‘CD Drive (D:) ClickShare’.

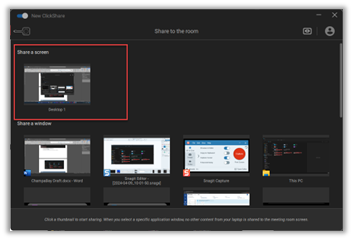
8. A window will open, under ‘Share a screen’, select your Desktop window.
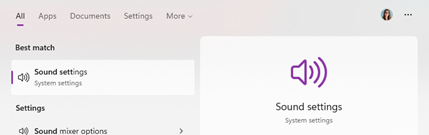
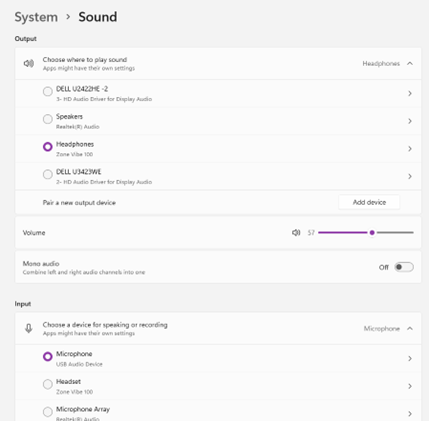
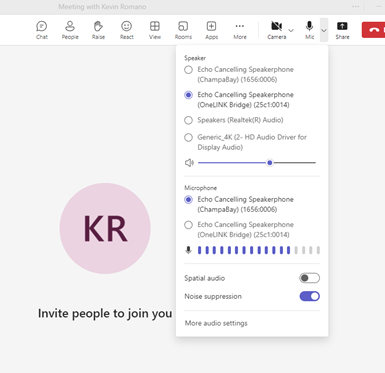
In the sound settings, the speaker and microphone needs to be configured. For speakers, select ‘Echo Cancelling Speakerphone’ that has Champa bay listed below it .
For the microphone, Select Echo Cancelling Speakerphone that has Champa bay (not shown in screenshot,but will be listed when you are in the room).
Please reference to the image below for peripheral selection.
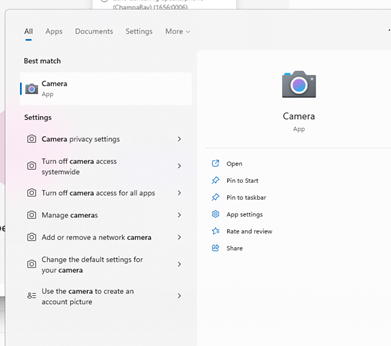
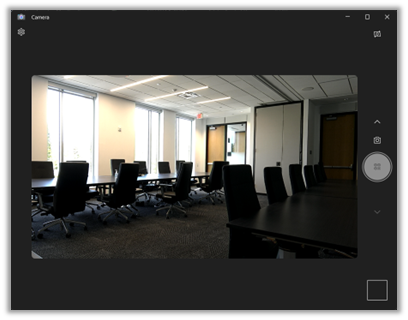
2. Open the camera app and test that the camera is running and displaying the picture properly.
Similar to the computer device settings, you will need to select Echo Cancelling speakerphone for Microphone and speaker. Under ‘Audio Devices’, select Champa Bay. This will change the inputs and outputs for the Teams call.
2. One selected, click the ‘X’ in the top right. The Room and device is now prepped for a Teams meeting.
If you encounter any issues outside of this documentation, please contact the City of Tampa Service Desk:
(813) 274 - 8067